
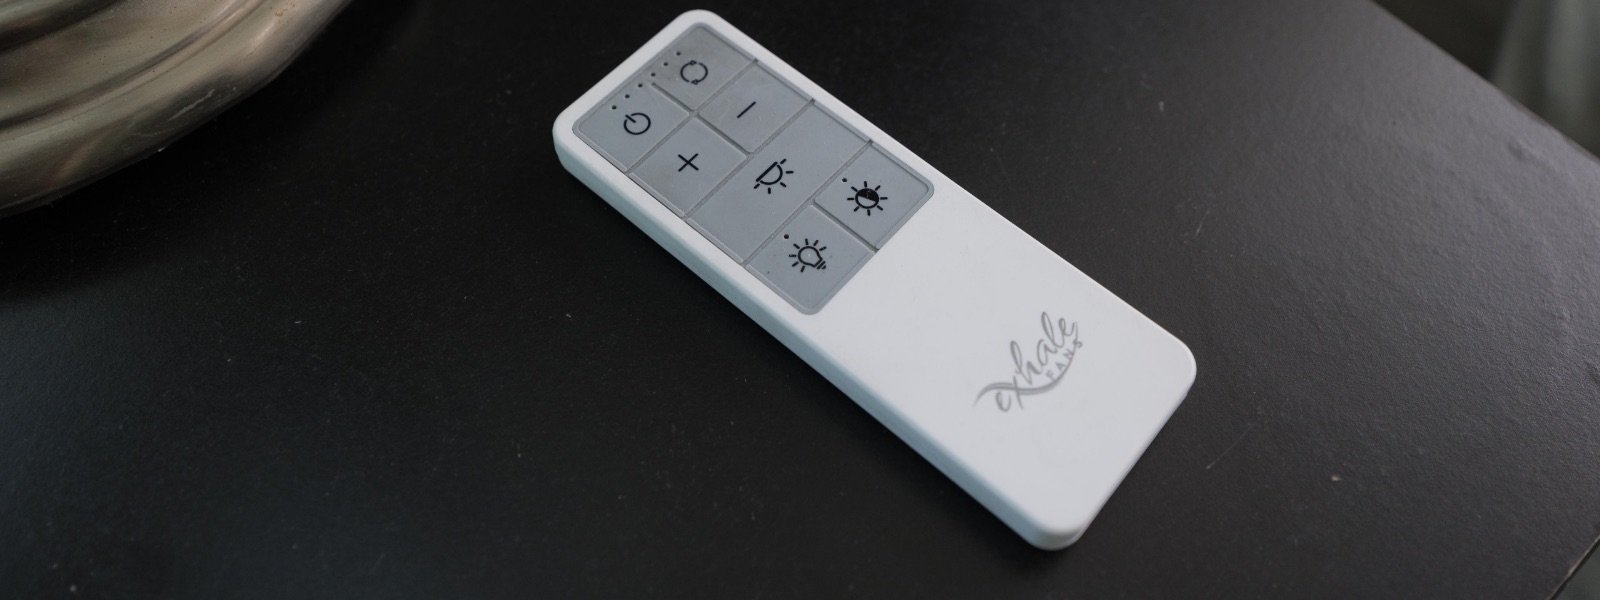
Remote Programing (Syncing the Remote)
- Turn the power Off at the Circuit Breaker for at least 10 seconds. If necessary, turn off the Circuit Breaker that routes power to your fan.
- Turn Power On to the fan at the circuit breaker, when power is restored a single
“BEEP” will be heard from the fan. - Within 30 seconds of turning the power on Press and Hold the fan ON / OFF button for at least 3 seconds or until a rapid 3 audio “BEEPs” are heard. NOTE: If an Exhale Fans Wall Switch or a second remote is used and both remotes are desired then a rapid 4 audio “BEEPs” will be heard for that second remote.
- With successful synchronization of the remote all functions of the Fan and LED are available.
NOTE: If a power failure occurs, such as in a storm, when power is restored the fan will recover to its factory default setting and the LED will remain Off.
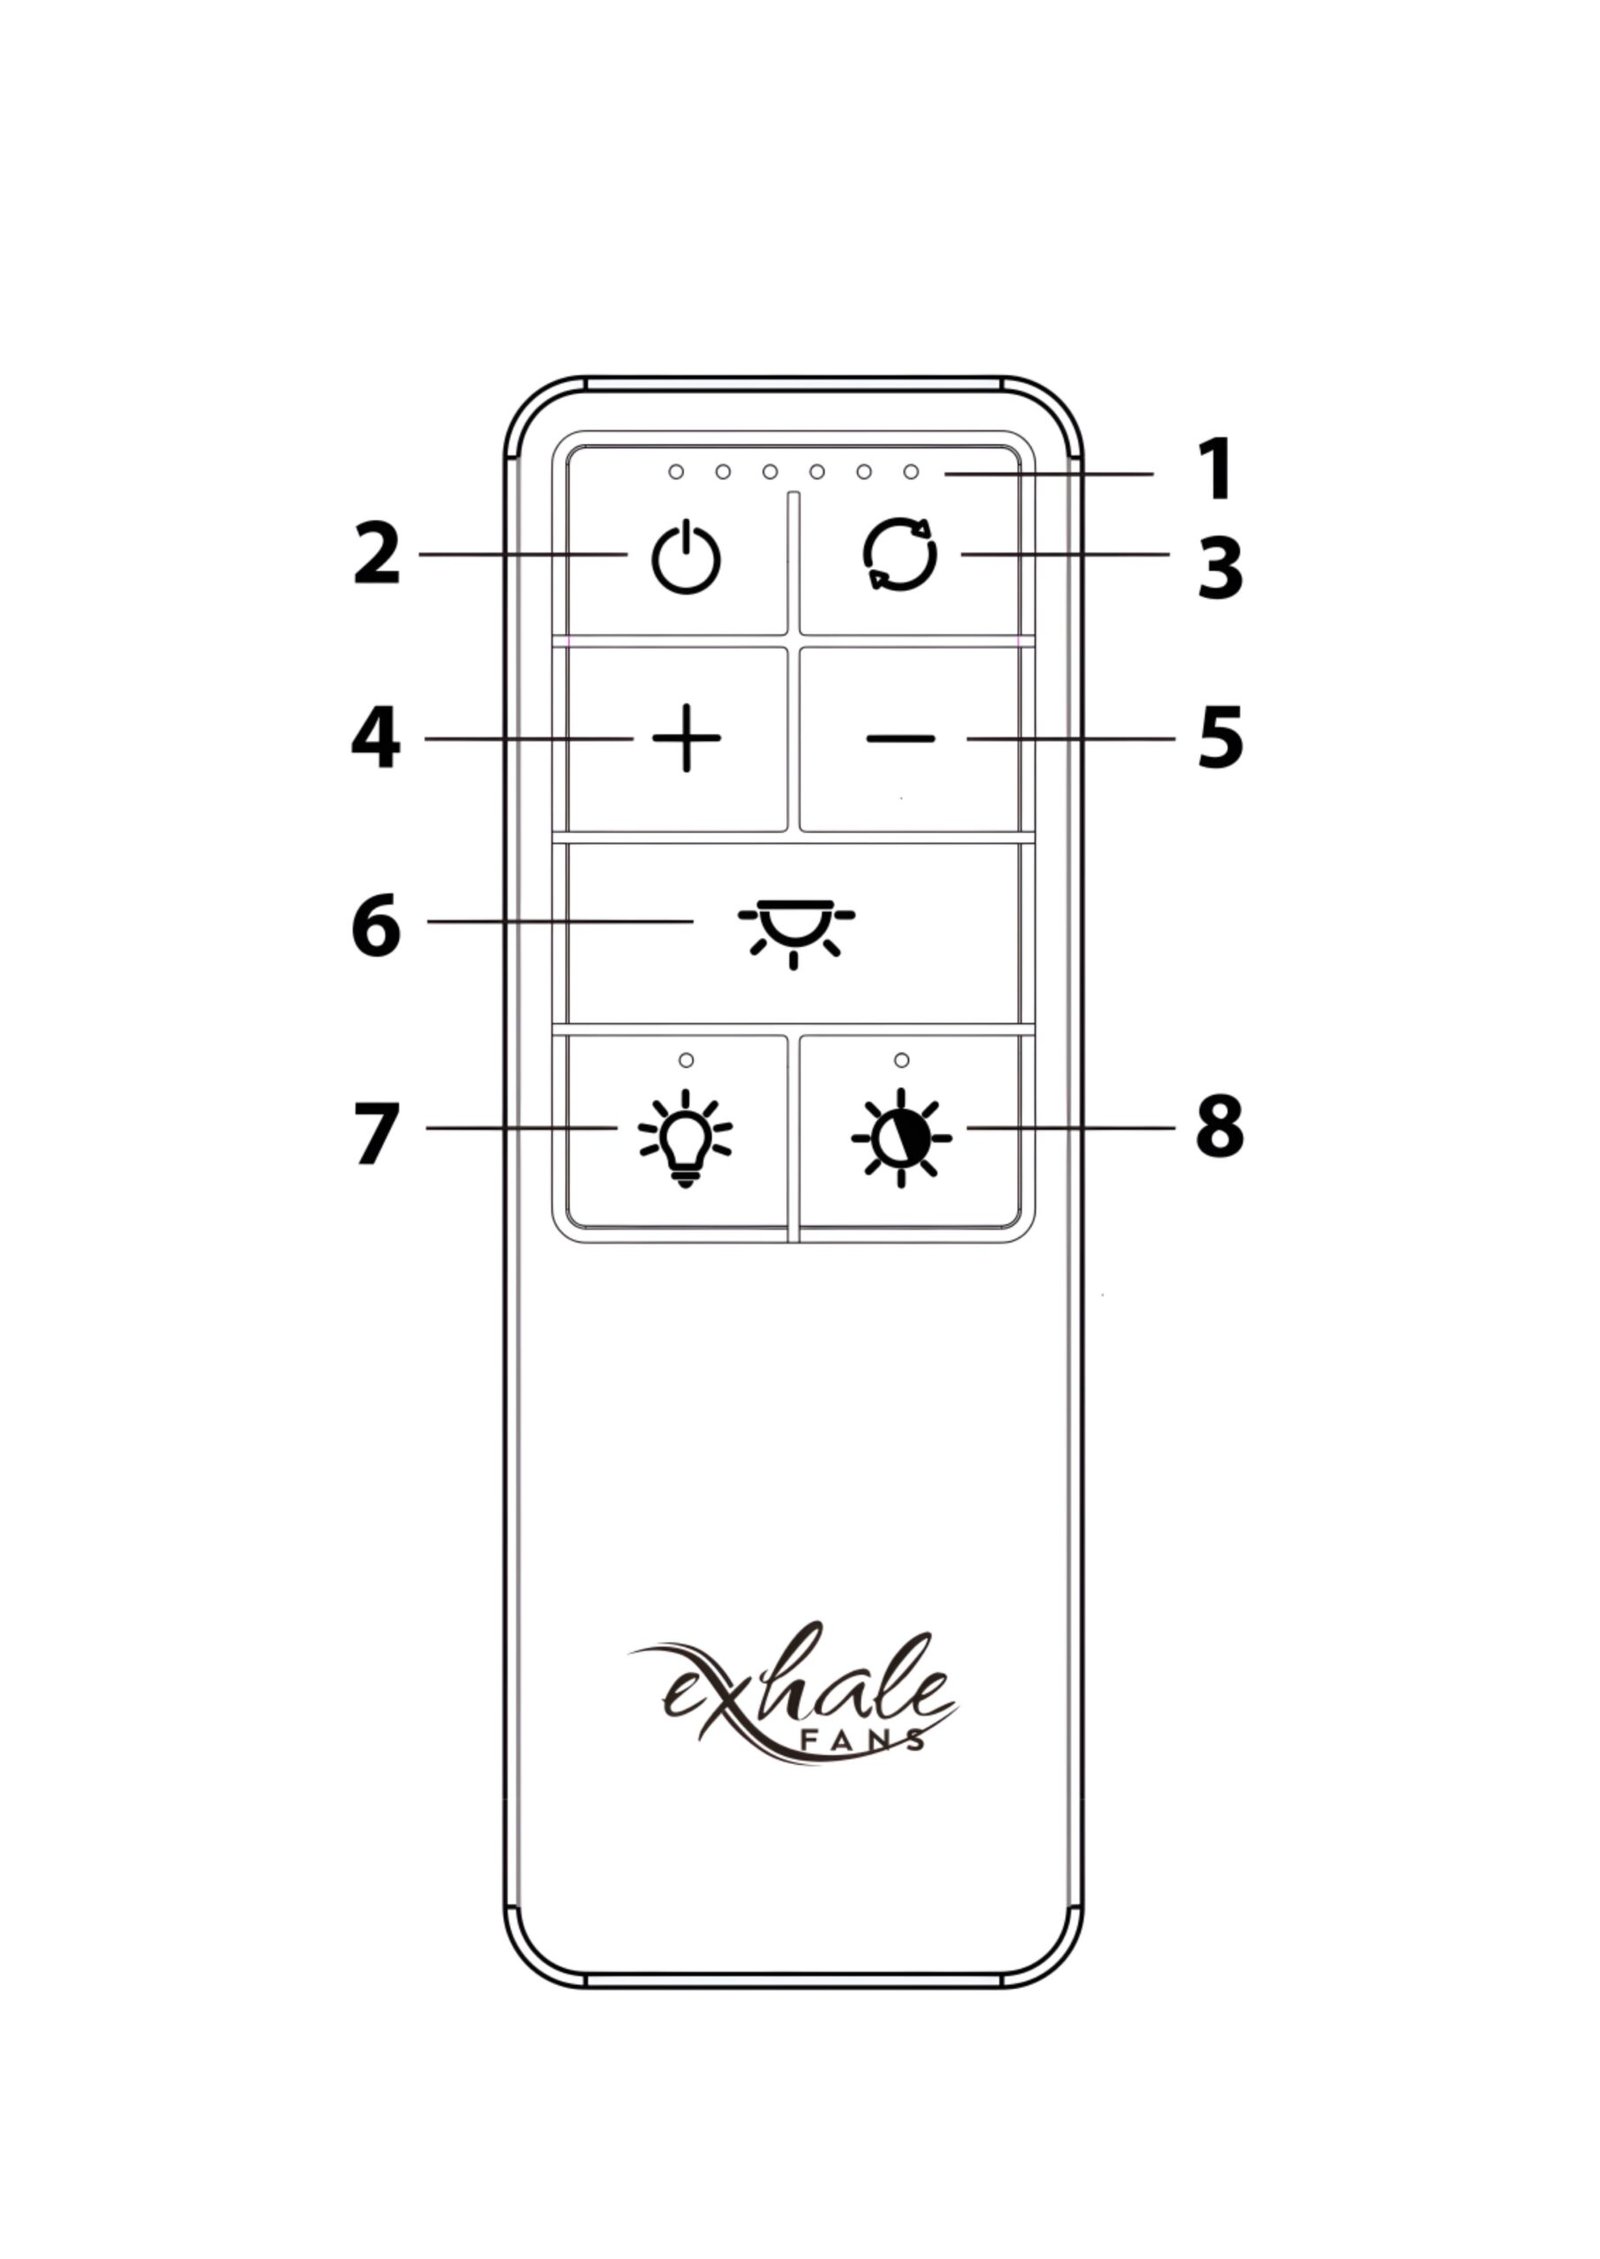
- LED Light Bar
- Fan ON / OFF
- Fan Rotation Direction Clockwise /Counterclockwise
- Fan Speed Increase
- Fan Speed Decrease
- LED ON / OFF
- LED Dimmer
- LED Color Select
Remote Operation
Please refer to the diagram drawing of the remote
- Upper Row LED Red indicator lights (6 lights total)
- Fan ON / OFF Toggle for ON or OFF. One “BEEPs” for Fan On that distinguishes the rapid two audible “BEEPs” for Fan Off. Both On and Off will have the Upper Row LED no. 3 and 4 will illuminate when pressed.
- Clockwise Counterclockwise Selection Toggle for Direction Change. 2 audio “BEEPs” and Upper Row LED 3 & 4 will illuminate when pressed. NOTE: the fan will slow and come to a full stop before direction will change. This may take a few minutes. Direction of rotation is for personal preference of the fan’s airflow direction.
- Fan Speed Increase Toggle for each one of six (6) steps with audio and LED confirmation that signifies each increment of the fan speed selected. The Upper Row LED light(s) will illuminate and equal the fan speed selected from speed 1 to 6.
- Fan Speed Decrease Toggle for each one of six (6) steps with audio and LED confirmation that signifies each decrement of the fan speed selected. The Upper Row LED light(s) will illuminate and equal the fan speed selected from speed 1 to 6.
- LED Light ON/OFF Toggle for LED On or Off an audio “BEEP” and LED 3 & 4 will illuminate for each selection. NOTE: LED auto Off delay feature, when the LED light is on, Press and Hold the LED button for 3 seconds, 1 “BEEP” will signal that the delay function program has started, continue to hold until a single “BEEP” is heard. The LED will now remain on for 3 minutes then turn off automatically.
- LED Dimmer Function Toggle or Press and Hold this button also has a Red LED that illuminates when being used. This feature will increase or decrease until Maximum or Minimum illumination has been reached. Toggle, or Press and Hold for Brighter or Dimmer. Using one click per increment or decrement will have an audible response per button push and increase or decrease will reverse when limit of 100% (Full Illumination) or 20% (Full Dim) is reached. Or Press and Hold for Increase or Decrease as with Toggle steps an audible signal will occur when the Maximum or Minimum is reached.
- 8.LED Light Emission Color Selection. You may select one of 4 different Light Emission Colors with this Toggle Button. Each Button push will have an audio response and its Red LED light will illuminate. The incremental steps are from 100% Warm White Color to Mix of Warm and Cool White to a Mix of Cool White and Warm White to 100% Cool White. The 4 Steps are sequential as described and is achieved by pressing the LED Color Selection Button once.
Battery Replacement:
Please refer to the drawing of the reverse side of the remote for Battery replacement.
The Battery is a CR-2032 Coin Cell type Battery. With a small “Philips Head” screwdriver remove the single screw that holds the Battery Cover in place. Remove the Battery Cover to expose the battery, remove the old battery and replace it with the new battery with the positive pole of the battery facing the remote. Replace the Battery Cover and screw the Battery Cover back in place to secure the new battery in the remote.